Security Settings
Manage your password and email address from the Security tab.
Accessing Security Settings
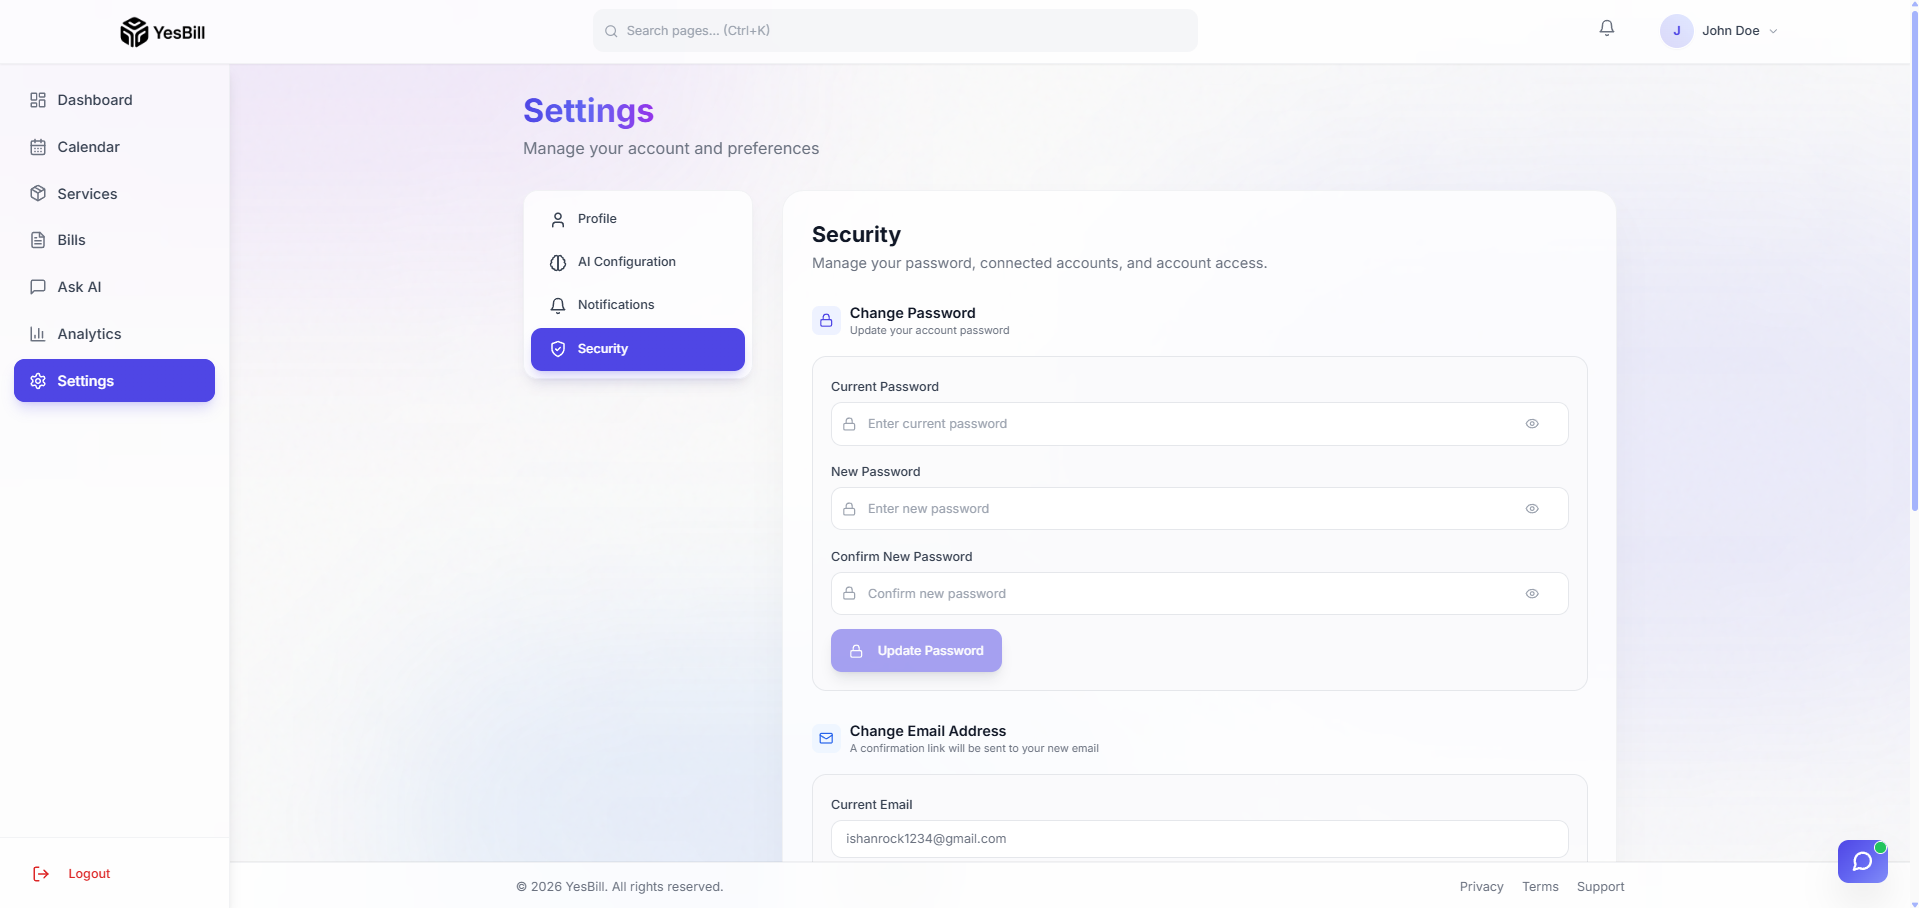
Go to Settings → Security tab.
Changing Your Password
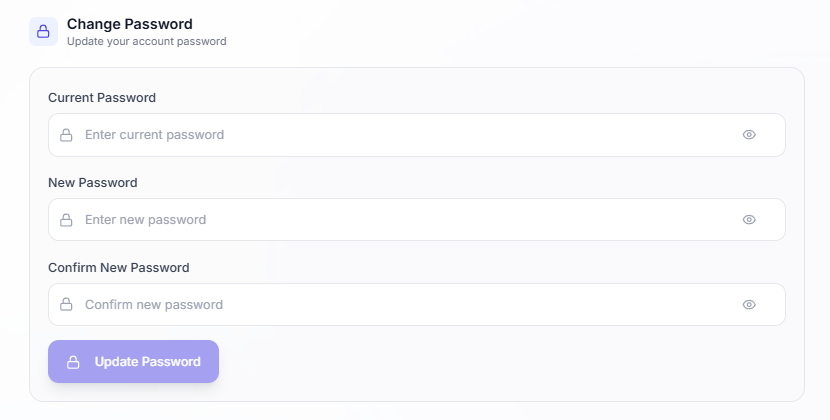
- Enter your Current Password
- Enter a New Password (must meet strength requirements)
- Confirm the new password
- Click Update Password
Password requirements:
- At least 8 characters
- At least one uppercase letter
- At least one lowercase letter
- At least one number
- At least one symbol
Password Changed Email

After a successful password change, YesBill sends a confirmation email to your registered address notifying you that the password was updated. If you didn't make this change, contact support immediately.
After changing your password, all other active sessions will be signed out.
Changing Your Email Address
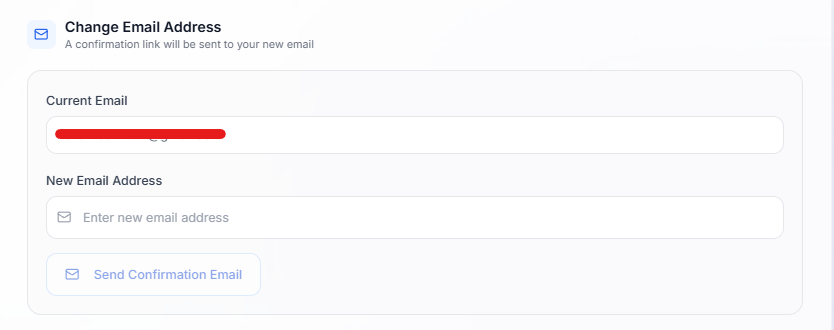
- Enter your New Email Address in the email field
- Click Send Confirmation
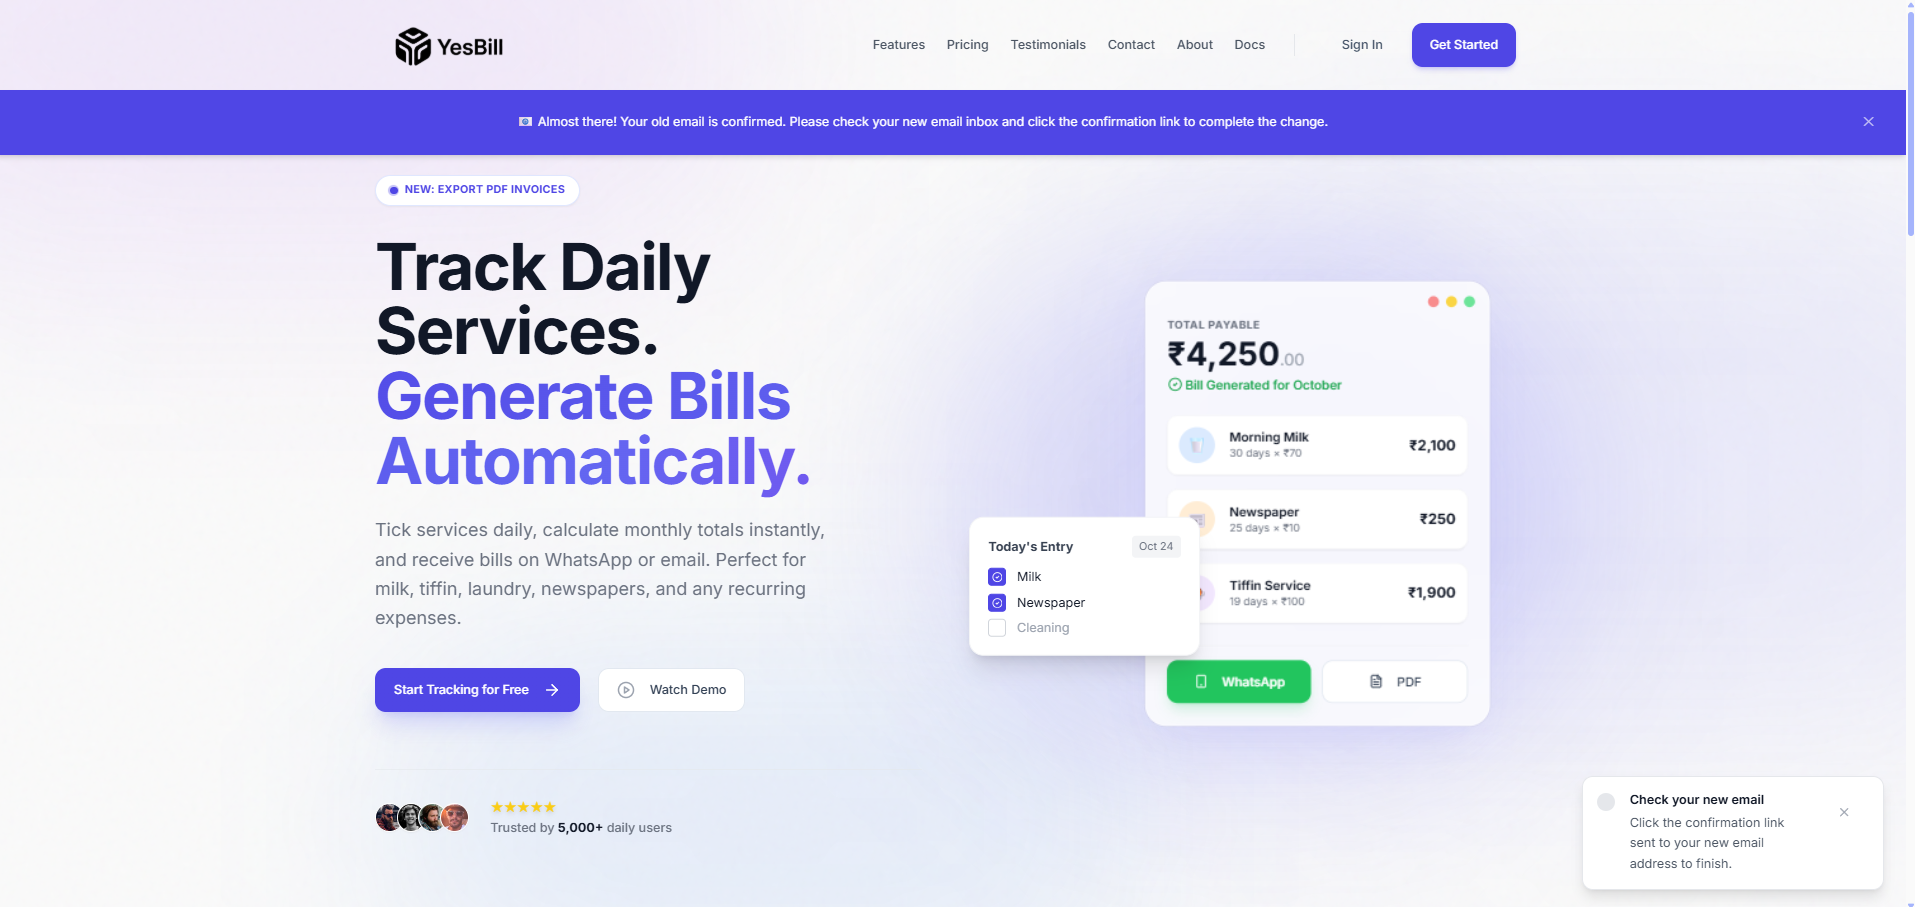
- Check your new email inbox for a confirmation link
- Click the link — you'll be taken to a confirmation page
- Your email is updated and you're redirected to login
Email Change — Step by Step Emails
YesBill sends three emails during an email change:
1. Confirmation email to your new address
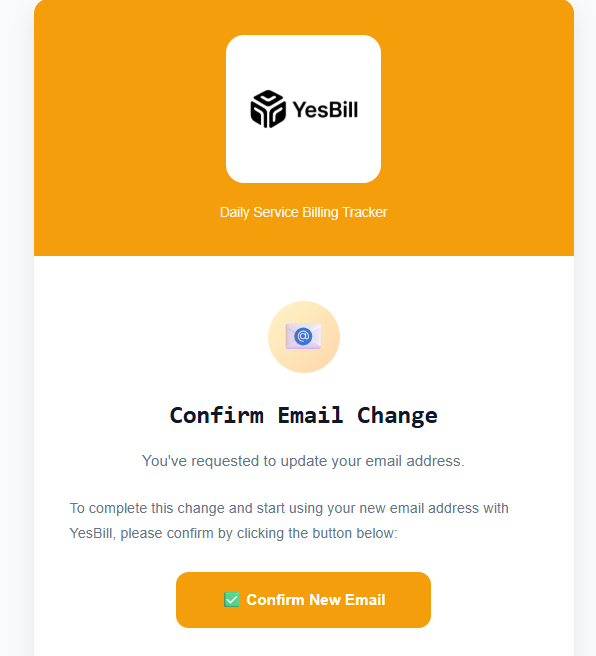
Click the Confirm Email Change button in this email to verify you own the new address.
2. In-app notification after change
Once the change completes, you'll see an in-app notification confirming your email address has been updated.
3. Confirmation email to your old address
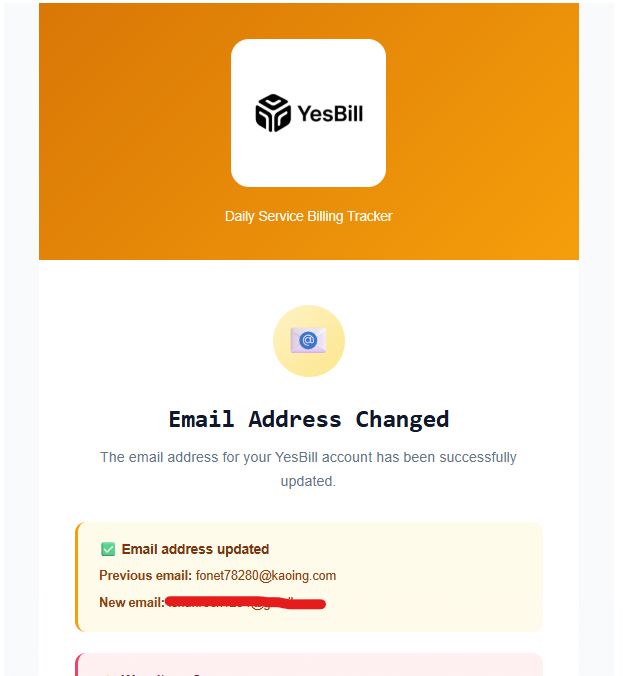
Your old email address also receives a notification confirming the change. If you didn't request this, contact support immediately.
A security notification email is also sent to your old email address when the change is complete.
If the Link Expires
Email change links expire after 24 hours. If yours expired:
- Go back to Settings → Security
- Re-enter your new email and click Send Confirmation again
- A fresh confirmation link is emailed to you
Active Sessions
The Active Sessions panel shows your currently logged-in devices and browsers. You can see:
- Device type and browser
- Last active time and location
- Current session badge
To sign out of all other sessions, click Sign Out All Other Sessions. This is useful if you think someone else might have access to your account.
Deleting Your Account
Account deletion is permanent and irreversible. All your services, tracking data, and bills will be deleted immediately and cannot be recovered.
Step 1 — Initiate Deletion
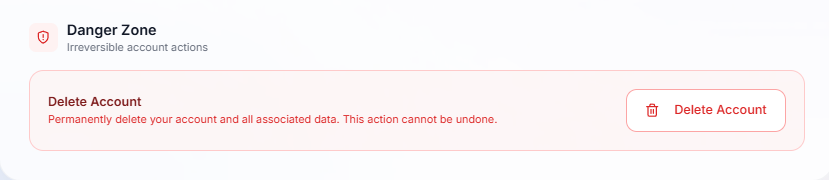
Scroll to the bottom of the Security settings page and click Delete Account.
Step 2 — Confirm Deletion
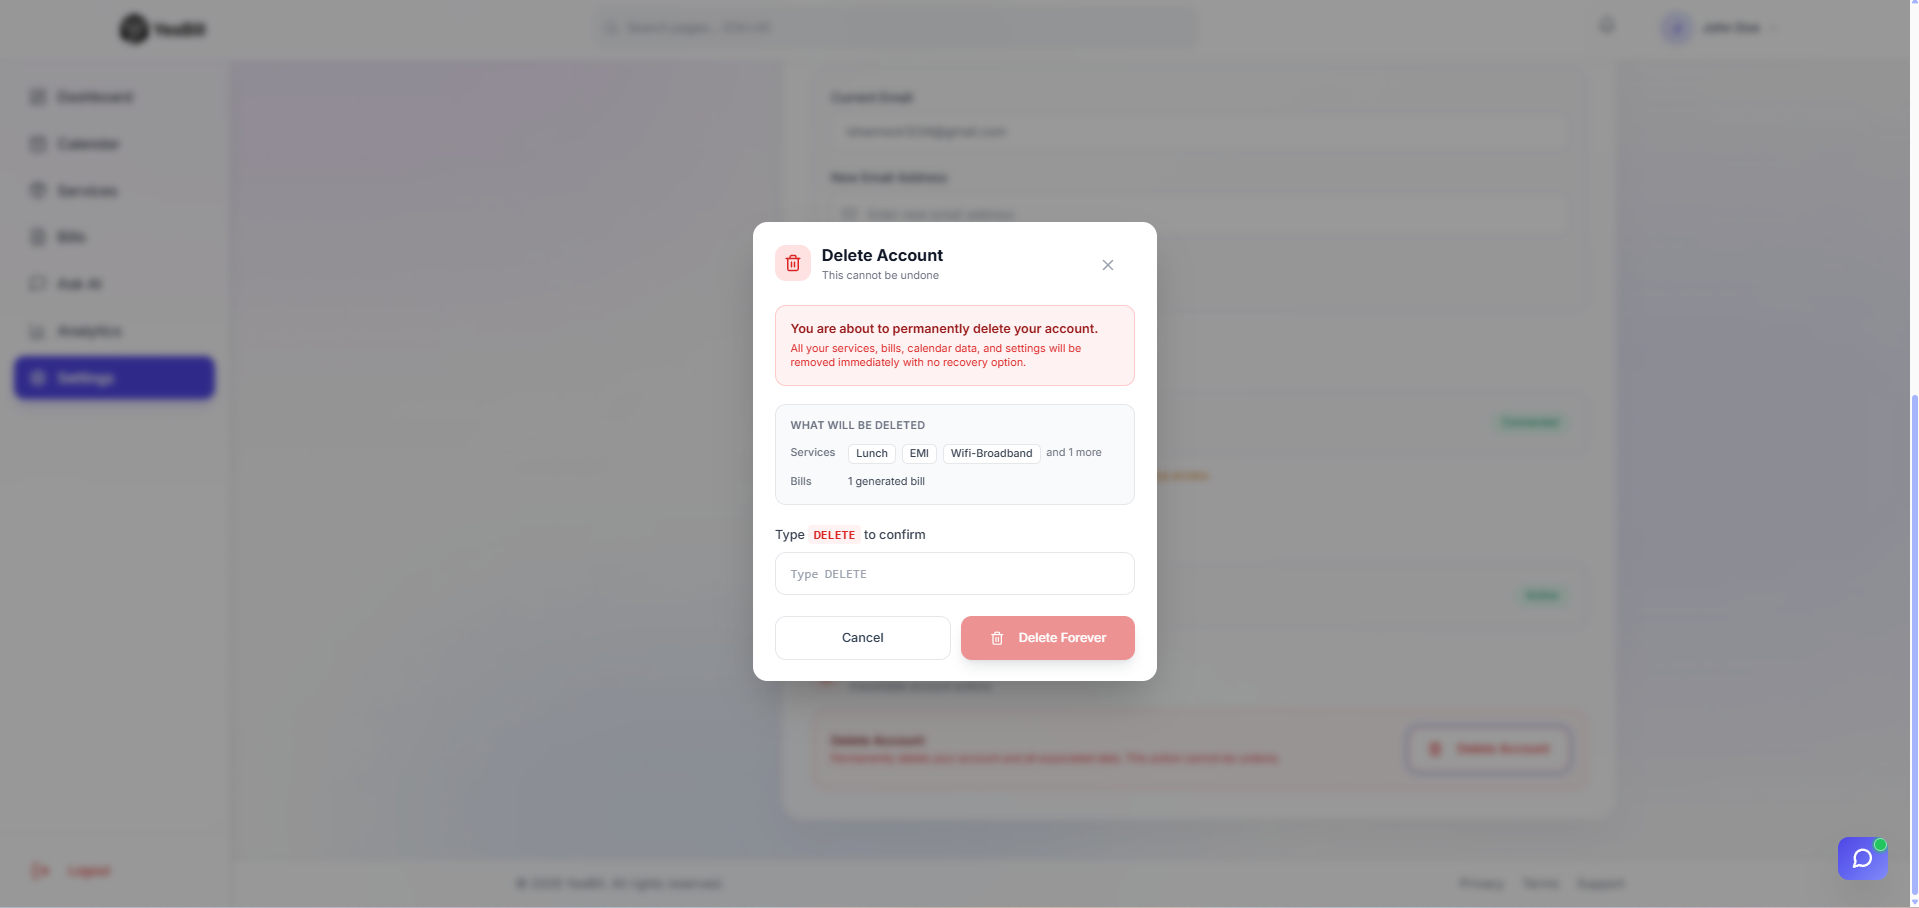
A confirmation dialog appears. You must type your account email address to confirm before the deletion proceeds.
Account Deletion Email
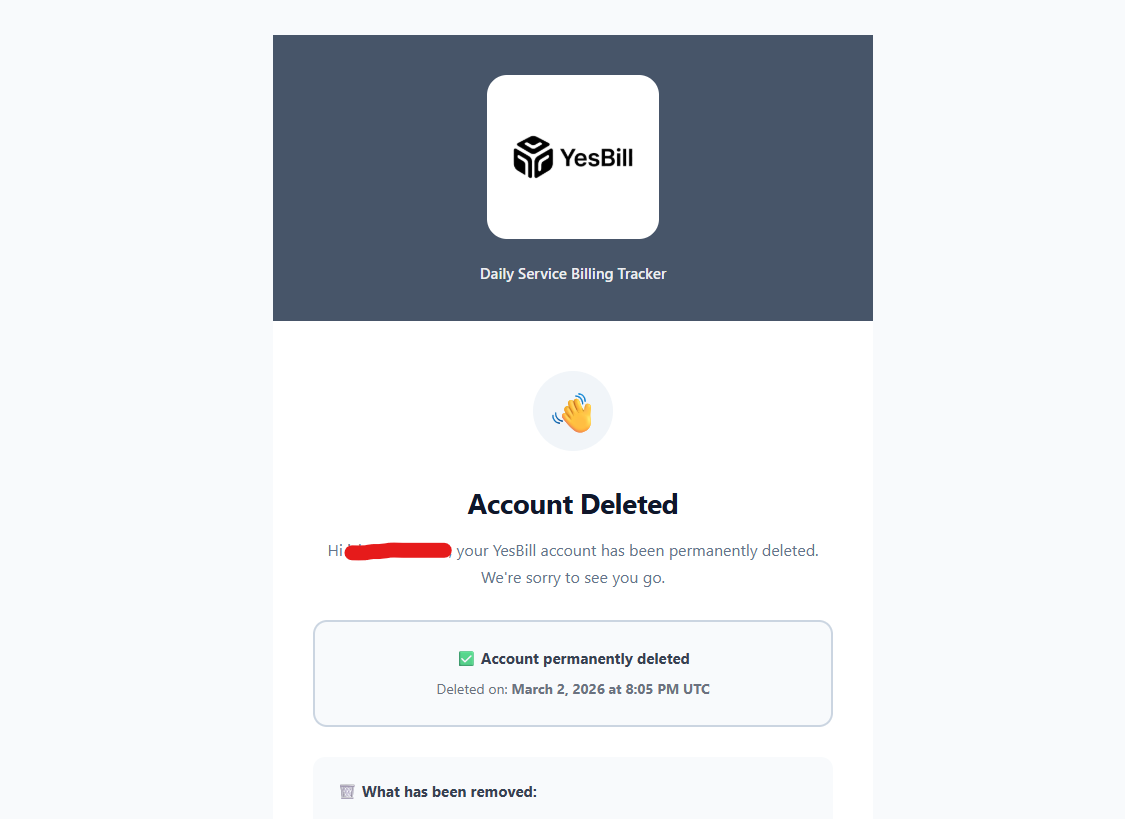
After your account is deleted, you'll receive a final confirmation email notifying you that the deletion is complete and all data has been removed.
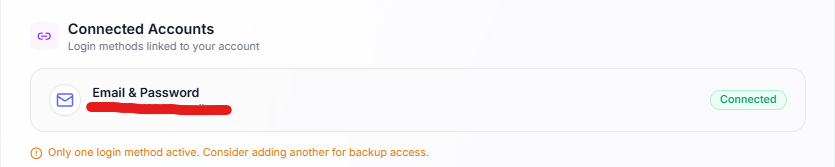
Linked Accounts
If you signed up with Google, your email is managed by Google. You cannot change it directly in YesBill — change it in your Google Account settings instead.