Onboarding
When you log in for the first time, YesBill walks you through two quick setup steps.
Step 1 — Profile Setup
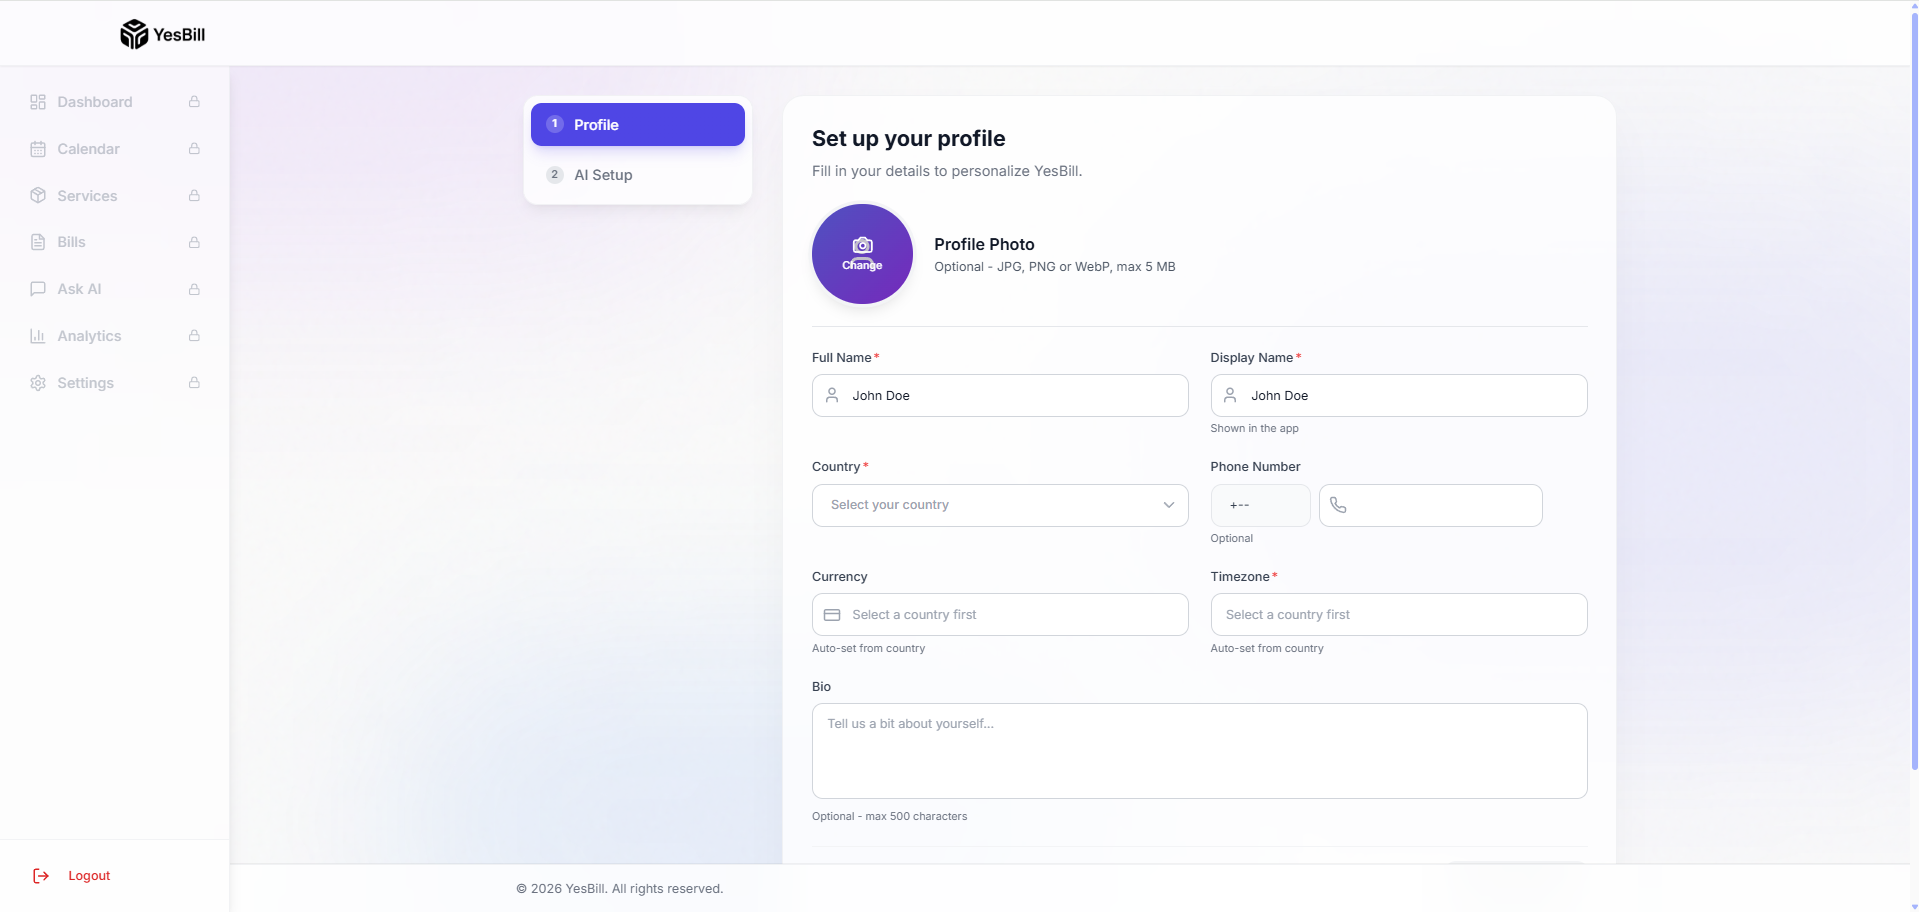
Fill in your basic profile information:
- Full Name — Your name as it appears in the app
- Display Name — Short name used in greetings (optional)
- Phone Number — For WhatsApp bill notifications (optional)
- Country & Timezone — Used to display dates correctly
- Profile Photo — Upload an avatar image (optional)
Click Save & Continue when done.
info
You can update all of this later from Settings → Profile.
Step 2 — AI Provider Setup
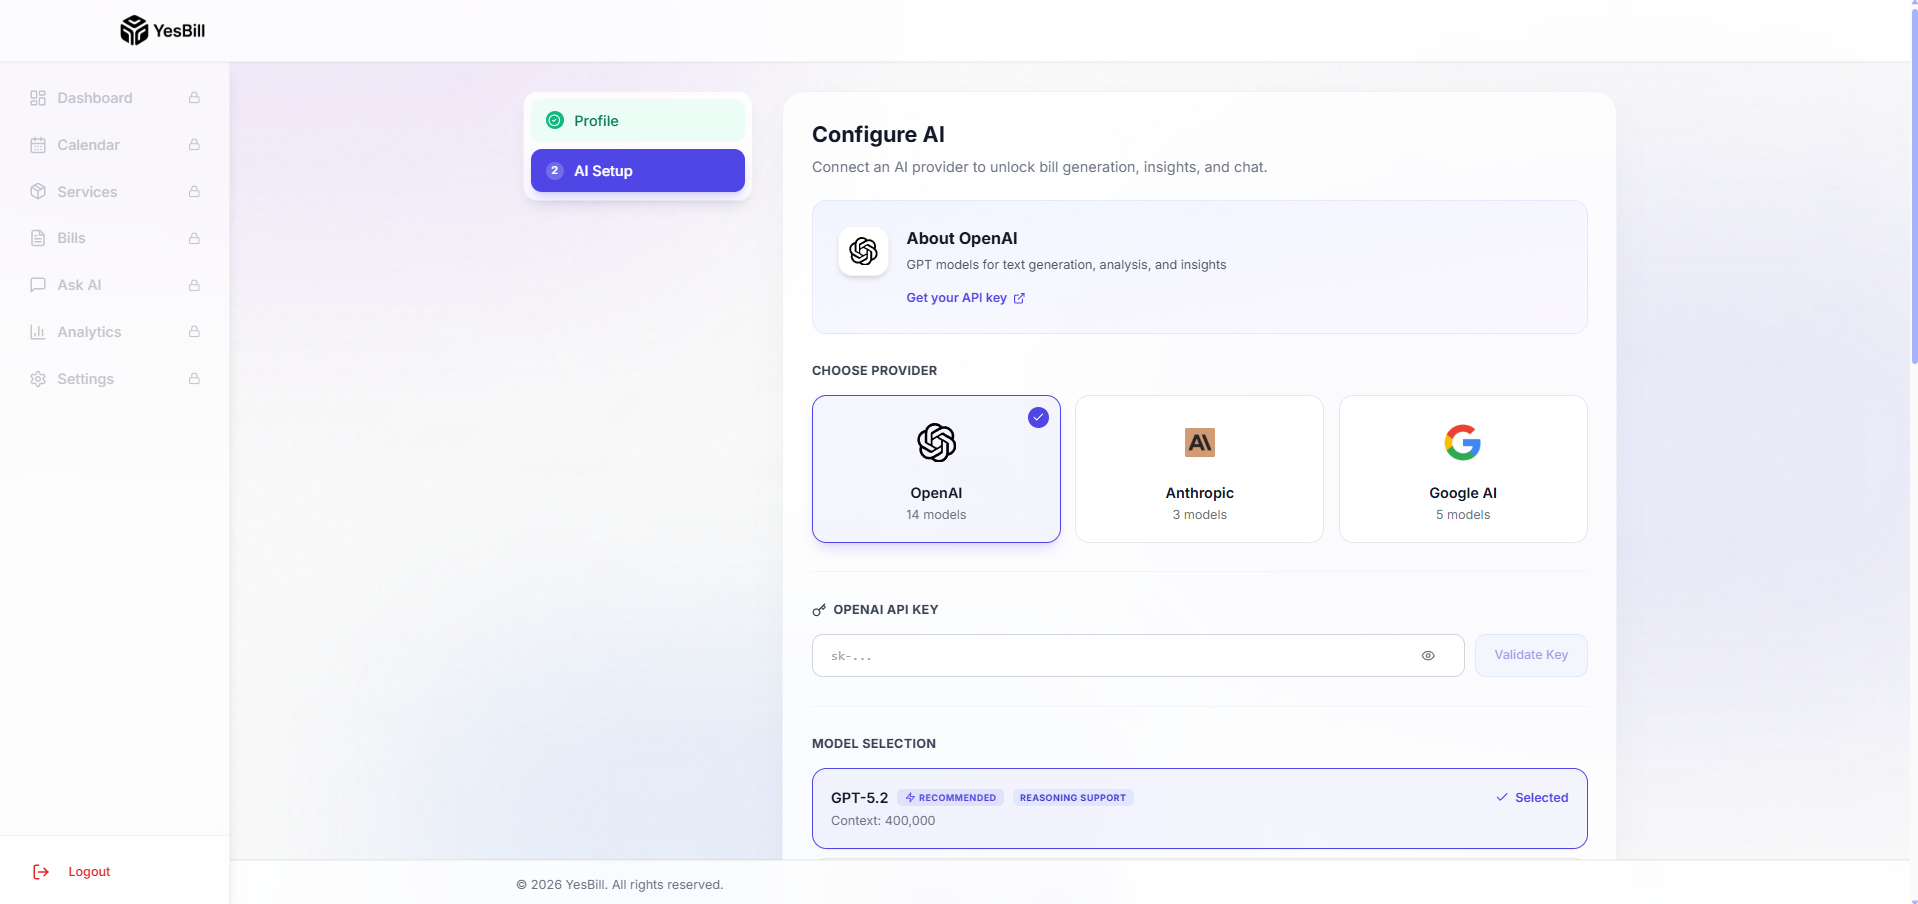
YesBill's AI features (bill summaries, Ask AI chat, Agent assistant) require an API key from an AI provider.
Supported Providers
| Provider | Good For |
|---|---|
| OpenAI | Best overall, fast responses |
| Anthropic Claude | Best for detailed analysis |
| Google Gemini | Budget-friendly option |
How to Set Up
- Select your preferred provider (e.g. OpenAI)
- Enter your API key from the provider's developer console
- Choose a default model
- Click Validate to verify the key works
- Click Save & Go to Dashboard
Skip for Now

If you're not ready to set up AI, click Skip for now. A confirmation modal appears reminding you that AI features will be unavailable until you add a key. Click Skip Anyway to go directly to the Dashboard.
You can configure AI any time later from Settings → AI Configuration.
note
AI features won't work until you add an API key. Bill tracking, calendar, and manual billing work without AI.