Setting Up Your Account
After signing in for the first time, YesBill guides you through a two-step onboarding flow to configure your profile and (optionally) an AI provider.
Step 1 — Profile Setup
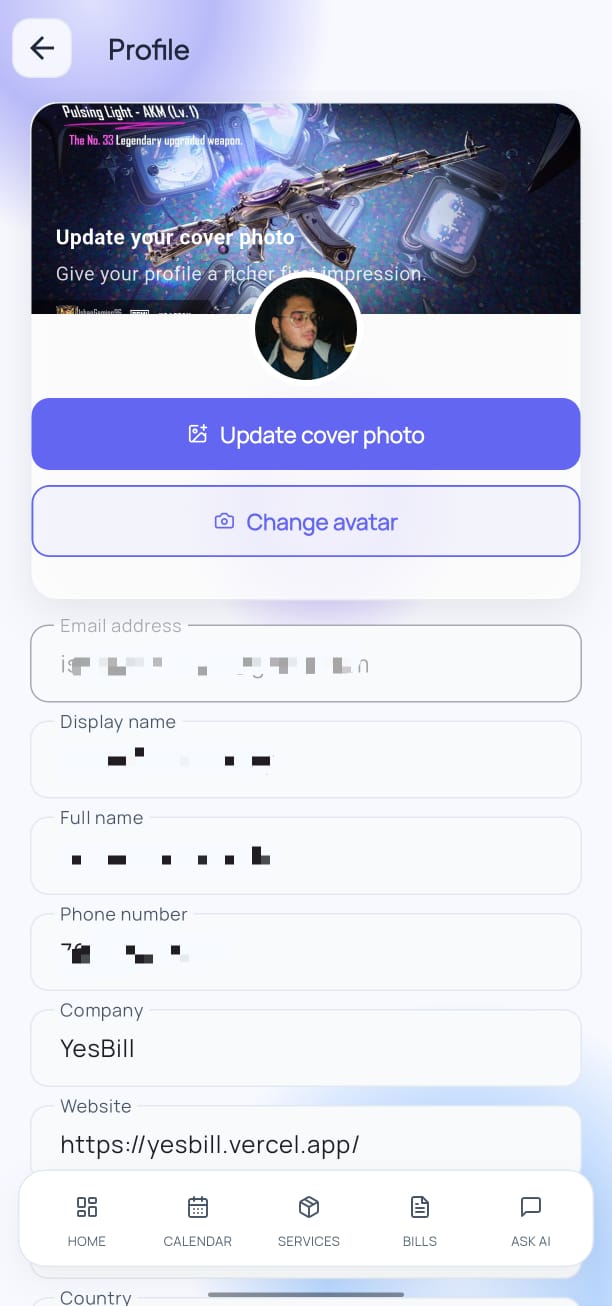
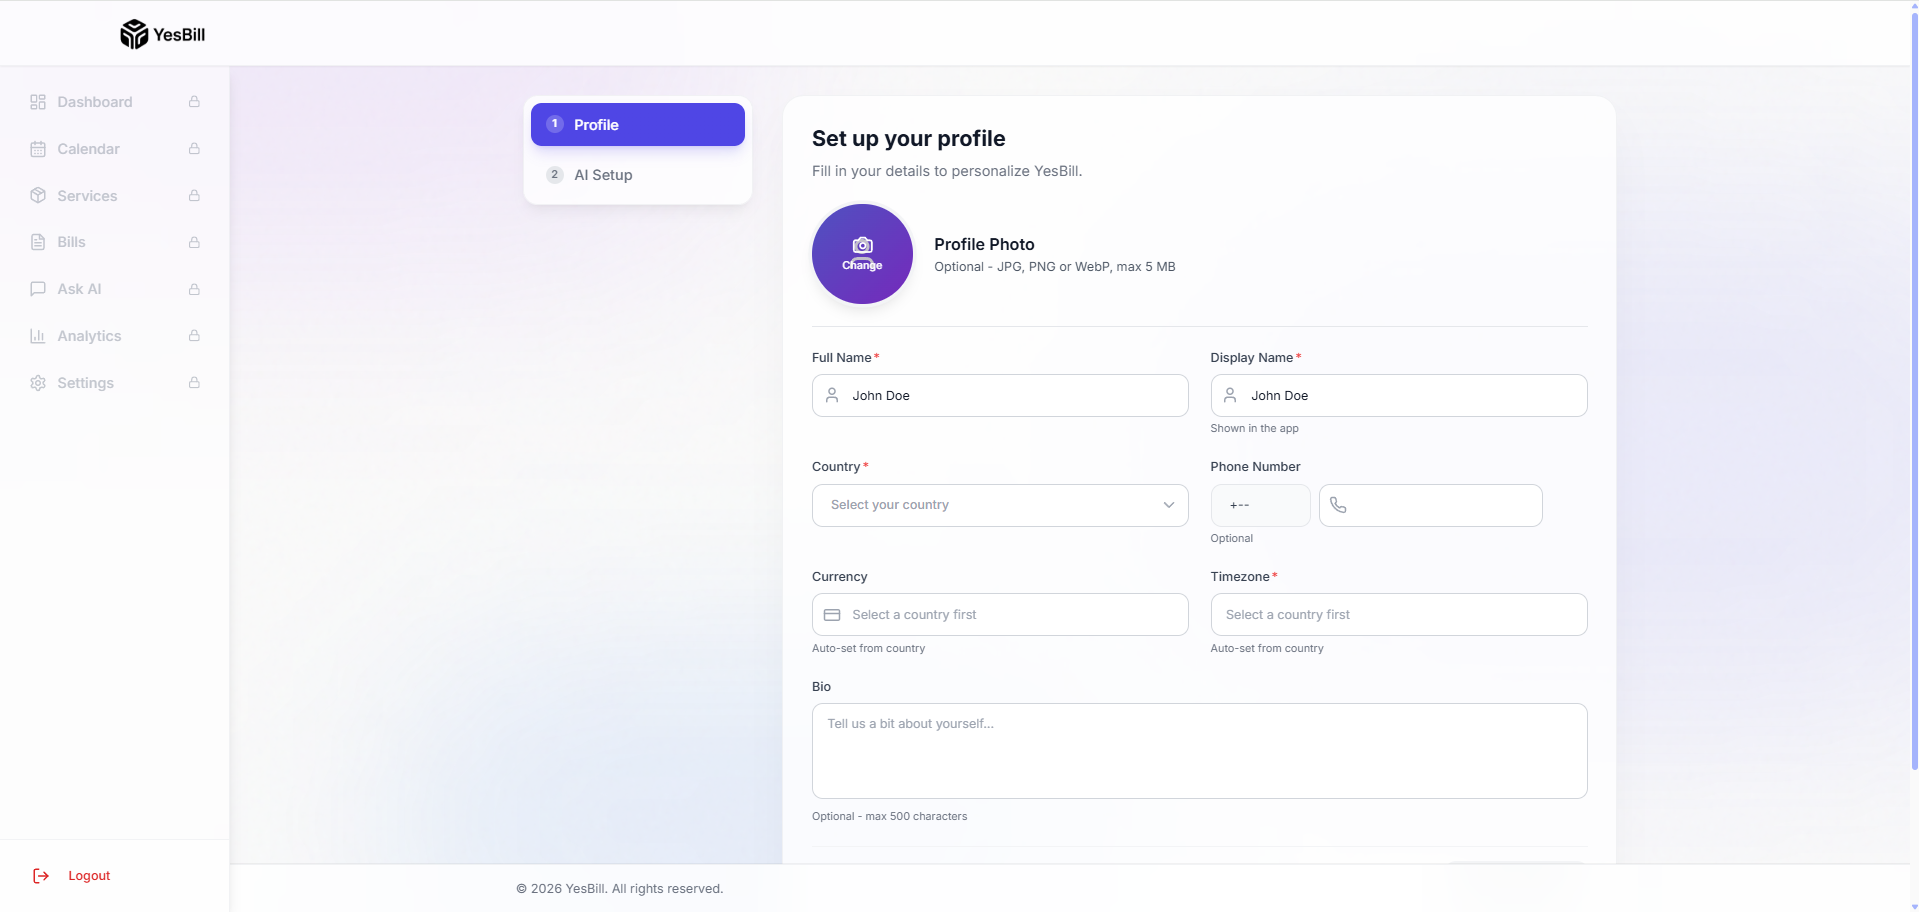
Fill in your profile information:
| Field | Required | Notes |
|---|---|---|
| Full Name | ✅ | Displayed in the app |
| Display Name | Optional | Short name used in greetings |
| Phone Number | Optional | For WhatsApp bill notifications |
| Country & Timezone | ✅ | Dates and billing months are based on this |
| Profile Photo | Optional | Upload an avatar from your gallery |
Tap Save & Continue when done. You can update all of this later from Settings → Profile.
Step 2 — AI Provider Setup
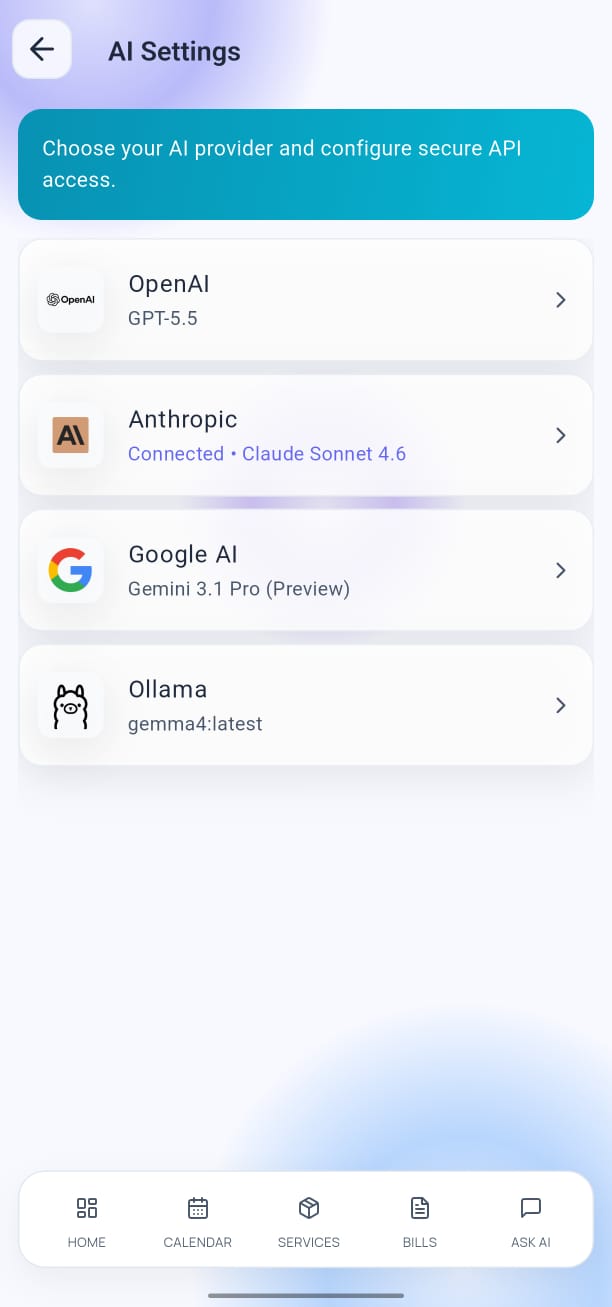
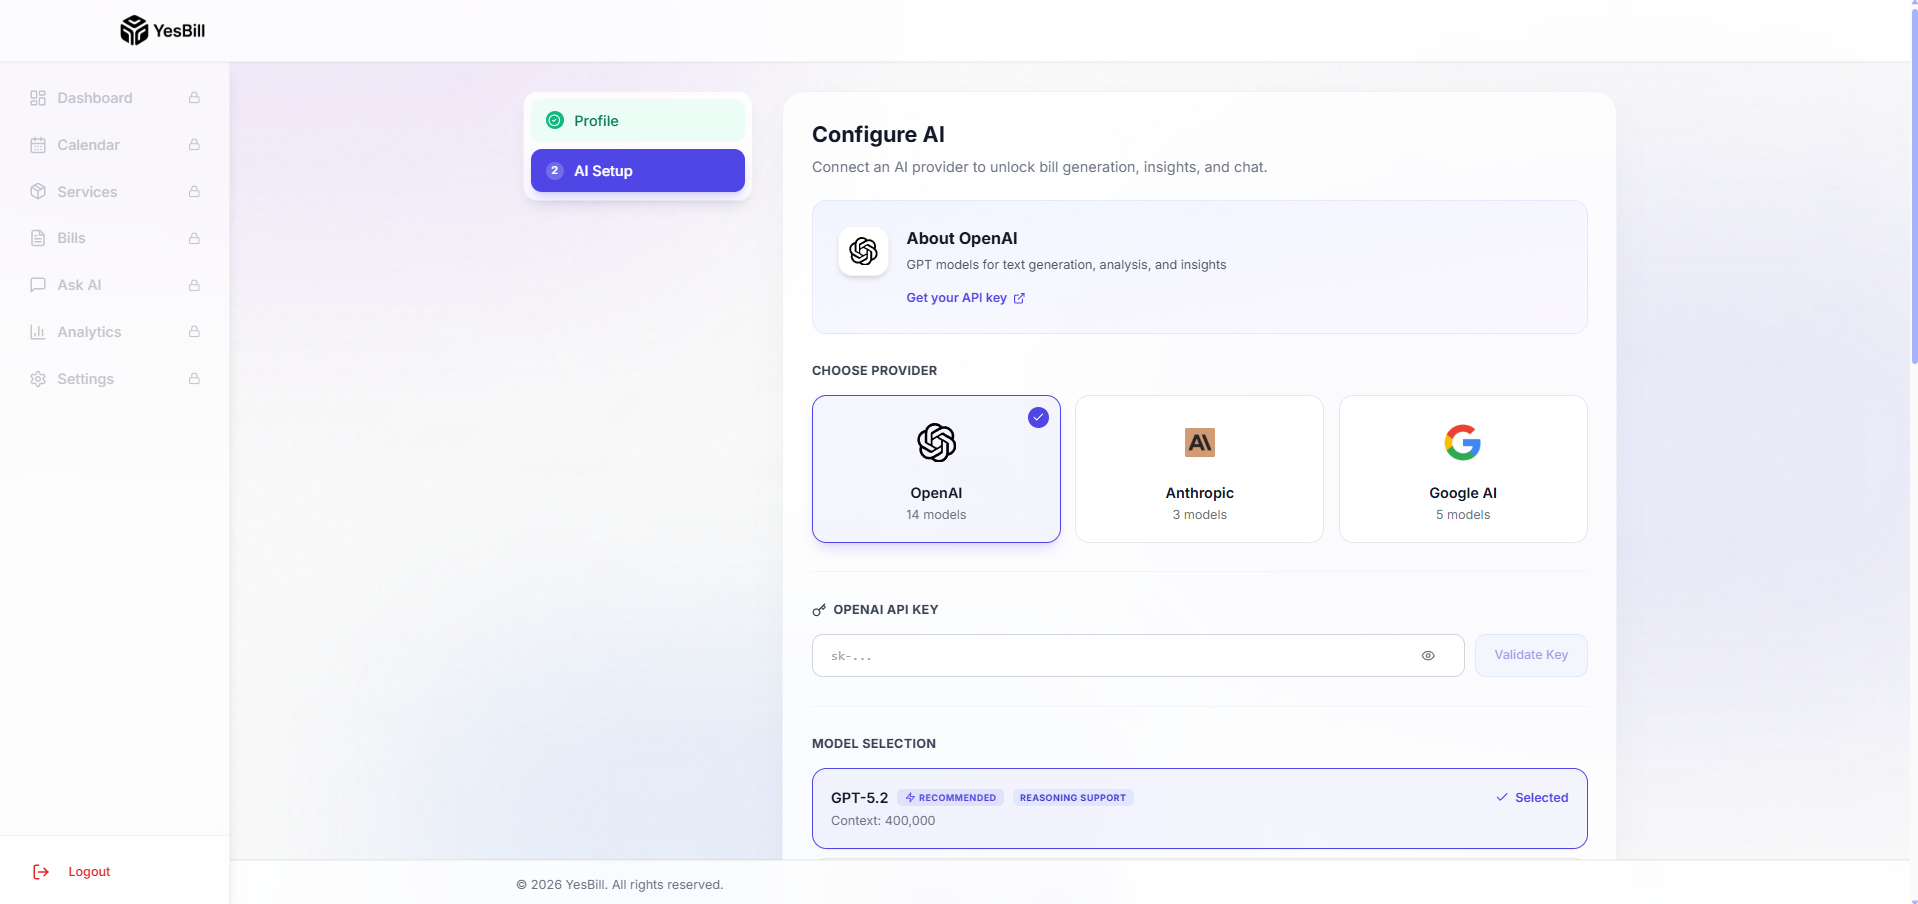
YesBill's AI features — bill summaries, Ask AI chat, and the AI Agent — require an API key from an AI provider.
Supported Providers
| Provider | Best For | Get a Key |
|---|---|---|
| OpenAI | Most capable models (GPT-5 series) | platform.openai.com |
| Anthropic | Balanced speed + intelligence (Claude) | console.anthropic.com |
| Google AI | Budget-friendly (Gemini Flash) | aistudio.google.com |
| Ollama | Local models — no API key needed | ollama.com |
How to Configure
- Select your preferred AI Provider from the list.
- Enter your API Key (not required for Ollama).
- Select a default model from the available options.
- Tap Save & Go to Dashboard.
Skip for Now

If you're not ready to set up AI, tap Skip for now. A confirmation modal appears reminding you that AI features will be unavailable until you add a key.
Skipping AI config disables Bill Summaries, Ask AI Chat, and the AI Agent. You'll see a reminder notification in the bell icon. Manual bill tracking, calendar, and payments work without AI.
Tap Skip Anyway to go directly to the Dashboard. You can configure AI any time later from Settings → AI Configuration.
What's Next?
After completing onboarding:
- Explore your dashboard
- Add your first service
- Mark deliveries in the Calendar
- Let YesBill generate your first Bill at month-end
- Chat with Ask AI about your expenses